WITH OUR FULL VISUALIZATION SYSTEM - WHAT YOU SEE IN THE PREVIEW IS WHAT YOU GET. THERE WILL BE NO SURPRISES! Code: GRP-FF-HISC-18

Choose StyleOther Styles

To frame like a professional, all you need are a few guidelines and then our visualization system to see how things are going to turn out with the choices you have made. To do this, you have FOUR OPTIONS each of which are very simple. OPTION 1)- If you already know the frame and mount combination you want, just measure the length & width of your canvas, insert the dimensions and pick a frame and optional mount. OPTION 2) If you want to see how your artwork will look in a frame and mount of your choice, you can upload an image of your artwork and use that image to assist with matching colours in your artwork with mount colours, frame colours, widths and artwork subject with frame style. OPTION 3) If you want to see how the finished artwork will look on a wall with a similar colour to your own select the “VIEW ON YOUR WALL” button above and select from one of our curated popular wall colours in different room locations OPTION 4) BUT if you want to go even further for a 100% PREVIEW OF HOW YOUR ARTWORK WILL LOOK WHERE YOU INTEND TO HANG IT SO YOU ARE 100% certain then Select “VIEW ON YOUR WALL” above and then upload a picture of the background where you intend to hang the finished artwork. All the help you need is provided in our HOW-TO section with easy-to-follow instructions and videos. code: STY-FF-HISC-19


Room Image Height: -cm     If you want to get the correct scale, all the stock images are set to 320cm which gives you the scale of a full wall being 8’ + some foreground. If you are going to upload a photo of where you are going to hang the artwork, you need to have at least a rough idea of the vertical measurements of the photo. if say, your picture was from the bottom of the wall to the ceiling, most likely it would be around 8 feet or 8x12x2.54 = 244 cm. Because all our stock images use the floor as the foreground, the vertical default size is set to 320cm. to move the artwork into position, hold down the left mouse button. If the image is too small, cancel and increase the size of the image and don’t forget to re-crop. TIP1: You should position the image so that the vertical centre of the image is at eye level with the height of the average person (5'6"). TIP2: Put Landscape artwork in Landscape spaces, Portrait in Portrait areas etc. TIP3: if you are using a single piece of art, then it should be between 2/3 and 4/5th of the item that is framing it from underneath. Example. If for instance, you are using a single art piece over a sofa. Let's say your sofa is 7’ / 213cm wide. Then the art piece, a single landscape should be between 213cm x 2/3 = 140cm/55” and 213 x 4/5 = 170cm / 66”. These widths include the width of the frame so the 60x40” or slightly smaller or larger should be spot on for the average sofa. Remember, these are guidelines so start with them and then see if you can tweak them to suit yourself. To see more on this. Check out our easy-to-follow guides in the HOW-TO section. code: COM-ROOM-IMAGE-TEXT    
 
Select files to upload
Your image is too small to use this paper type. Try using a higher resolution image.
  • Natural
  • Square
  • Portrait
  • Landscape
  • Free Size
W:
H:
This artwork size can not be used with mounts
Width: - SMALLERcm+ LARGER
You must select or upload a photo for this option
-
Total Price:
Show Price Breakdown
Hide Price Breakdown
Print Only Price:

Tray Frame - Standard Canvas

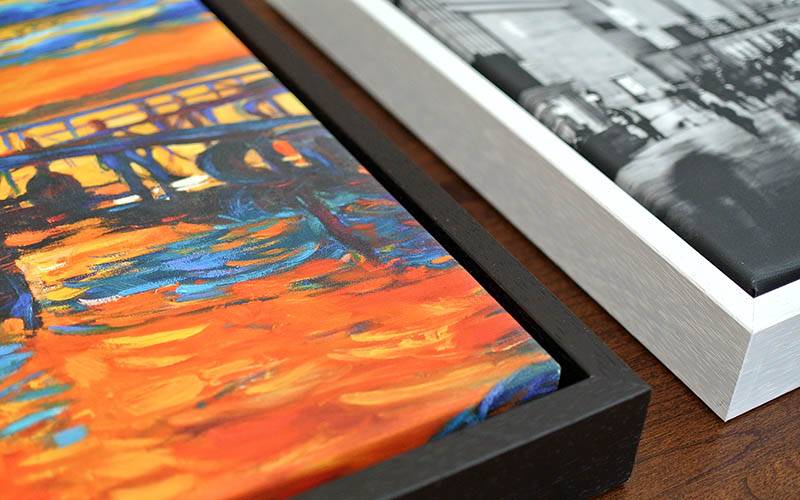
Close up of black and white Shadow Box Canvas Frame styles. Note small gap of 6mm / 1/4" between inside of frame and edge of canvas which gives the frame a floating effect.  Code: More images to appear here. PPIB-30.

Moulding Close Selection
Liner Close Selection
Mat Layout Close Selection
Outer Mount Close Selection
 
Outer Mount Close Selection
 
Inner Mount Close Selection
 
Glazing Close Selection
Backing Board Close Selection